
Introduction
In this article, we are going to see how to deploy an ASP.Net Core Web API on AWS EKS Fargate, We push the ASP.Net application as an image to AWS ECR and pull the image from it to deploy into Fargate.
Prerequisites
- The user should have an AWS Account.
- Visual Studio and Docker Desktop should be installed in your system.
- AWS CLI should be installed and configured in the user’s system.
- AWS Profile should be configured in Visual Studio.
Part 1: Creating an ASP.Net Core Web API and add Docker Support
A. Creating an ASP.Net Core Web API
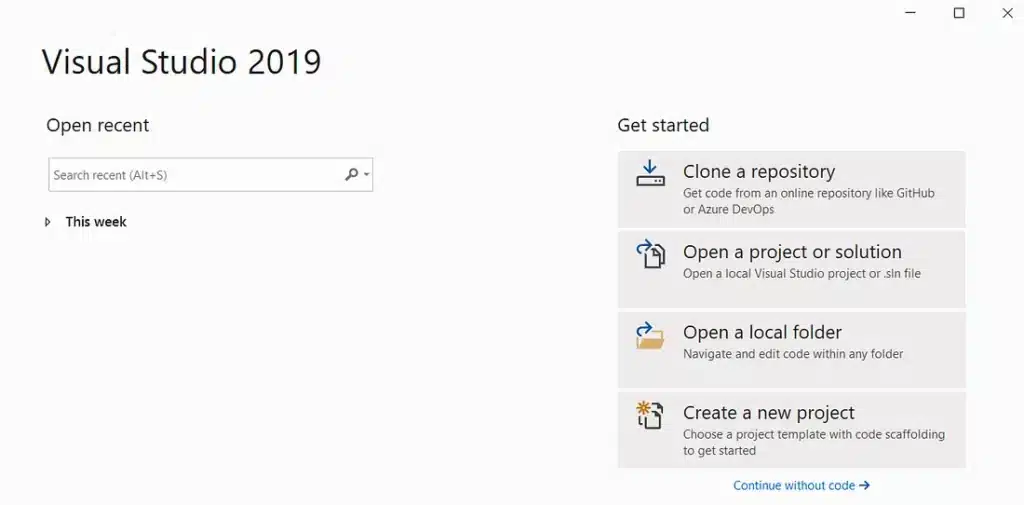
Open Visual Studio and click on Create a new project.
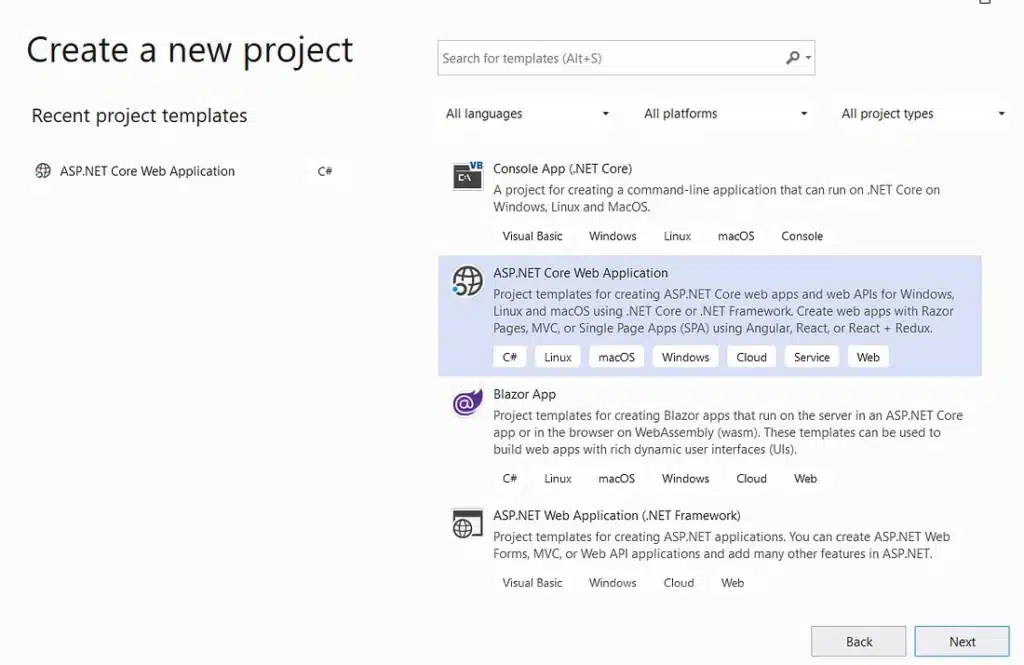
Choose ASP.Net Core Web Application and click on Next.
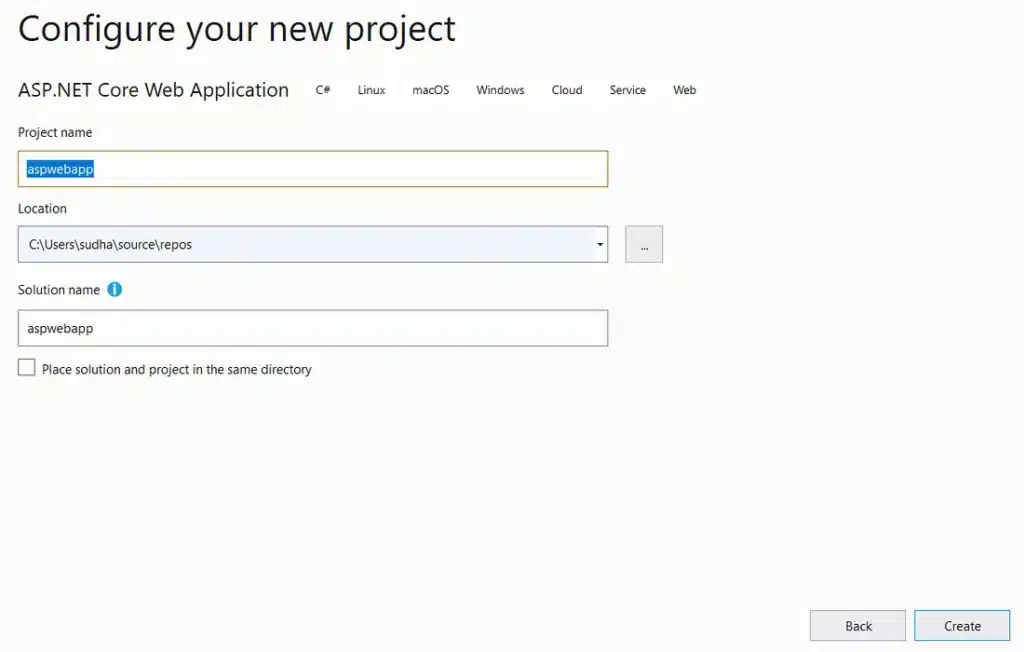
In Project Configuration, Give the name of your choice for the project, Click Create.
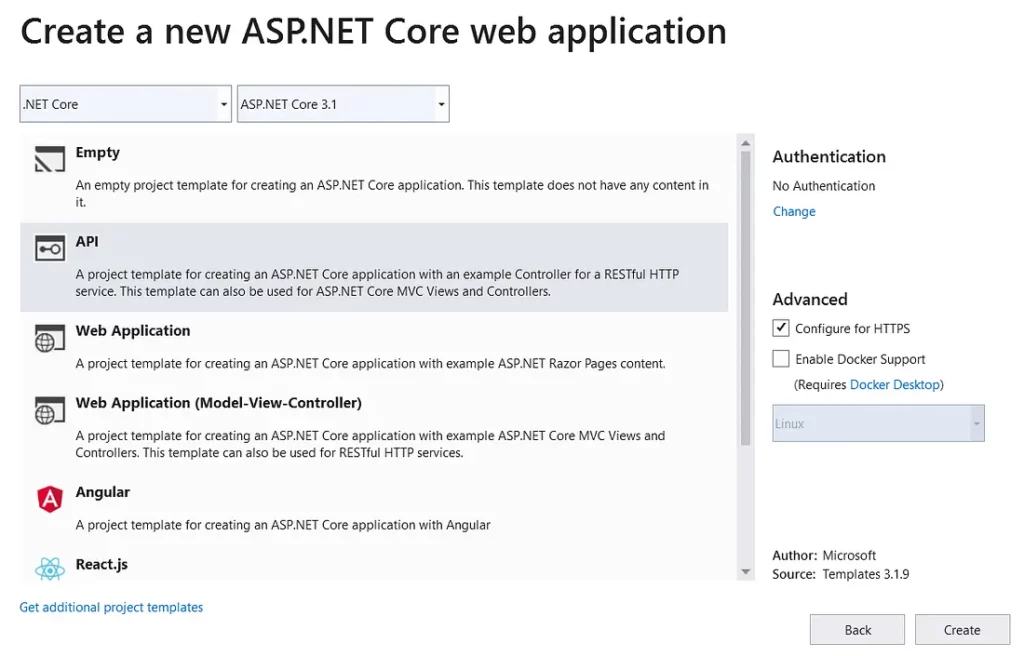
Choose API in the next window and click on Create.
The newly created project will have a default controller.
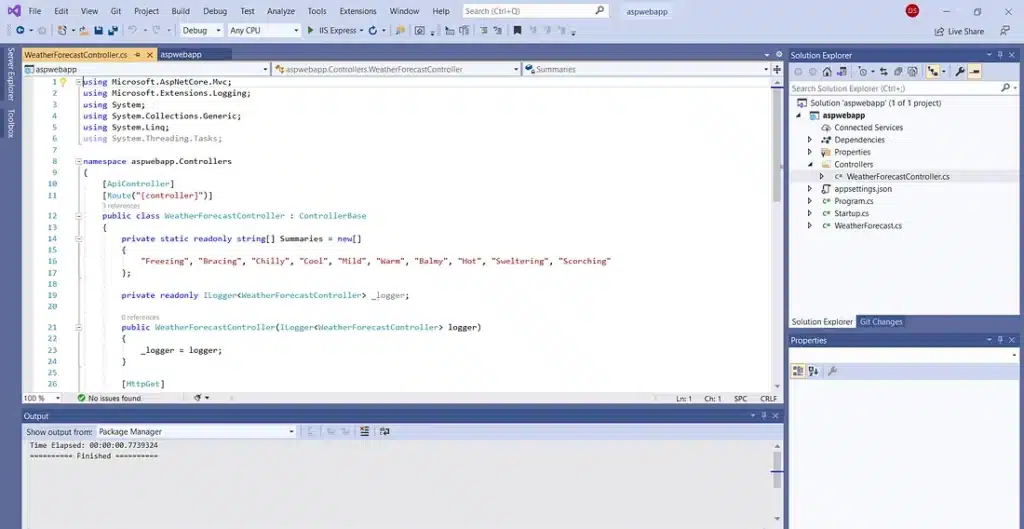
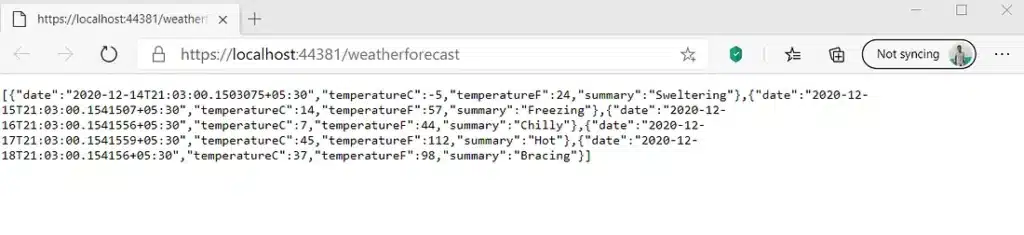
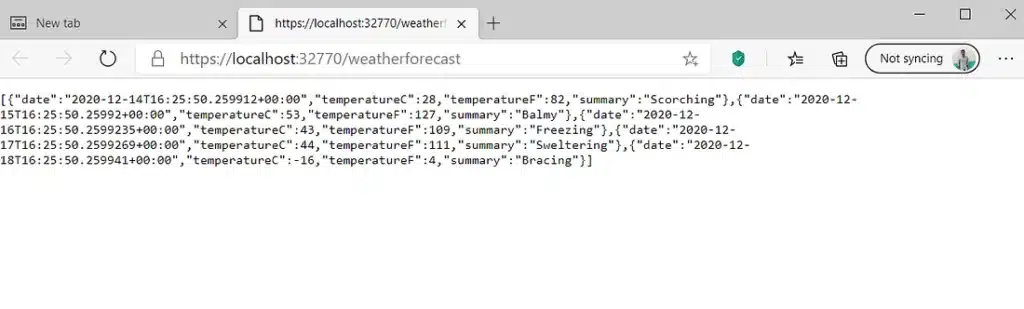
To make sure that the application is working, run the application using IIS Express.
B. Add Docker Support to the application.
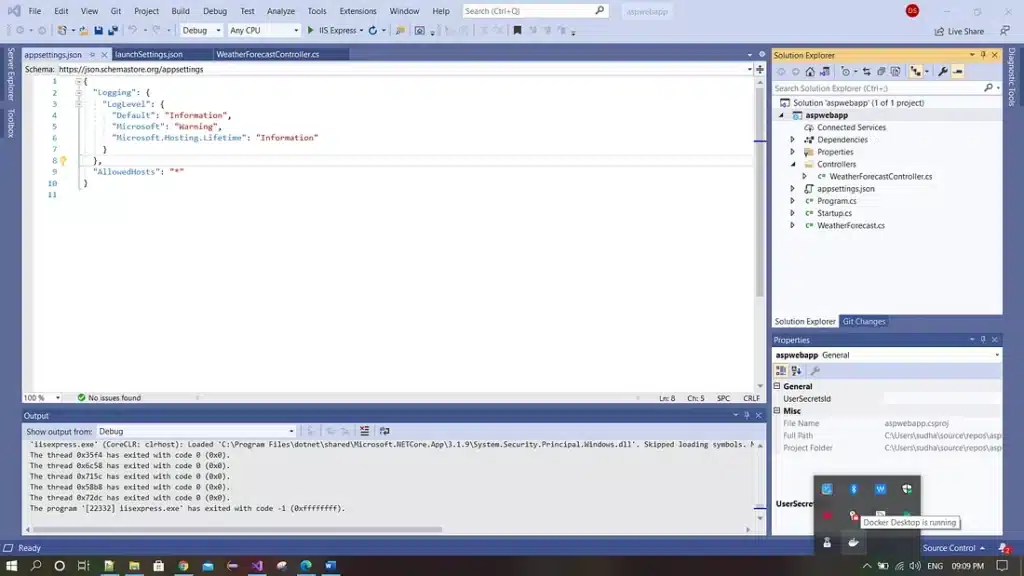
Make sure that Docker Desktop is up and running in your system.
Right-click on the Project, Click Add then choose Docker.
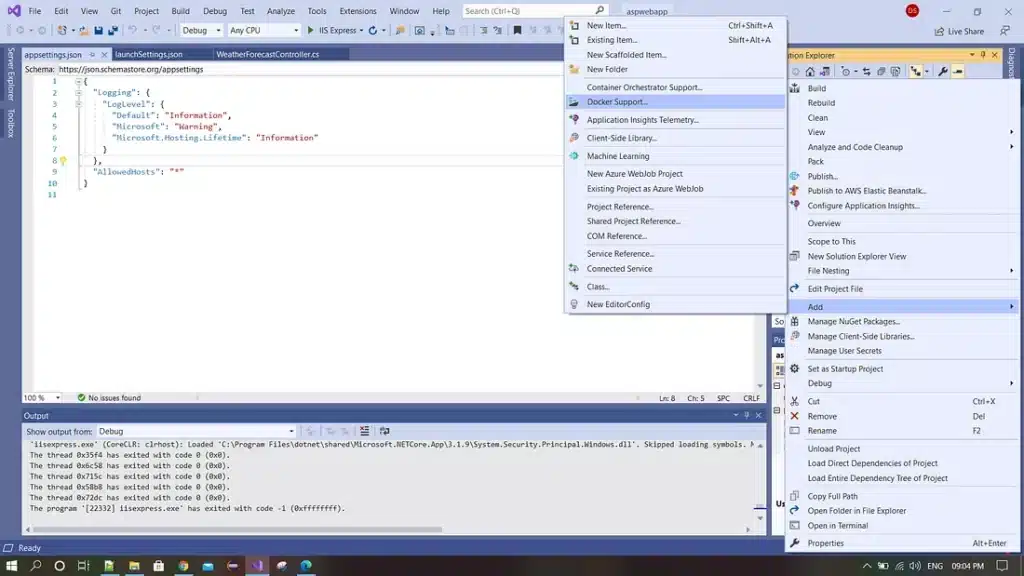
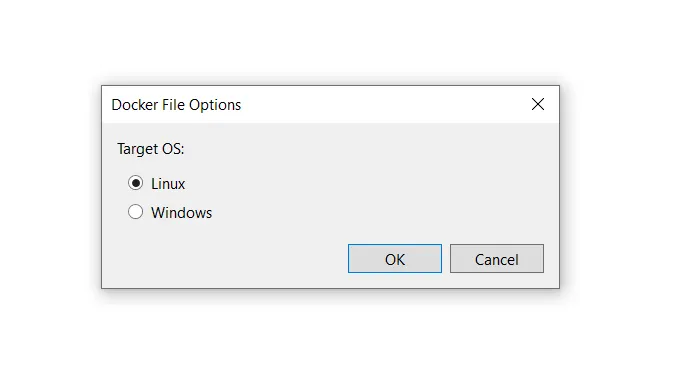
In Docker File Options, Choose Linux as Target OS.
It will pull the dotnet/core/aspnet base image from the Docker Repository.
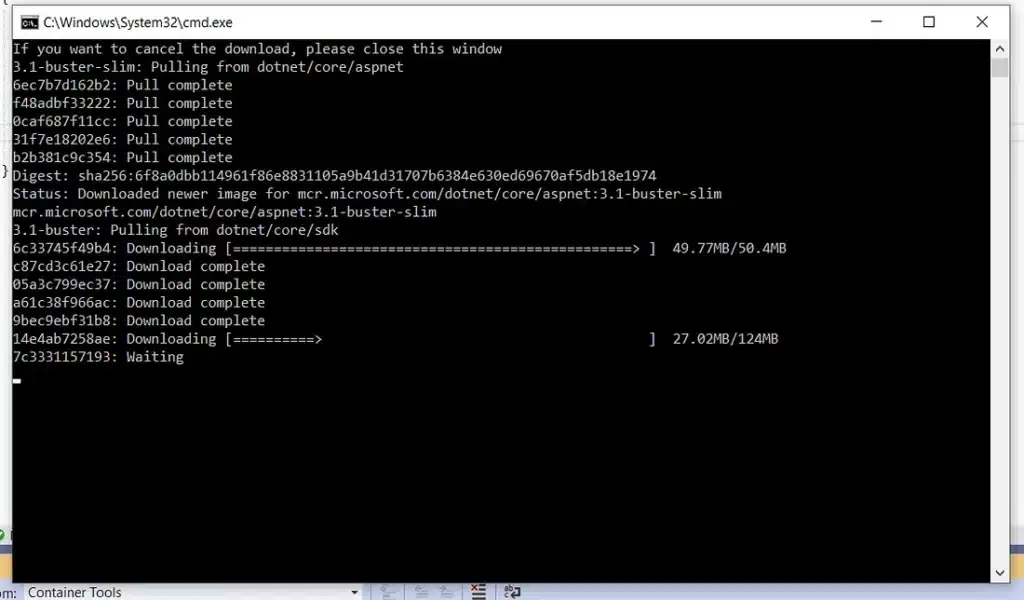
It will pull the dotnet/core/aspnet base image from the Docker Repository.
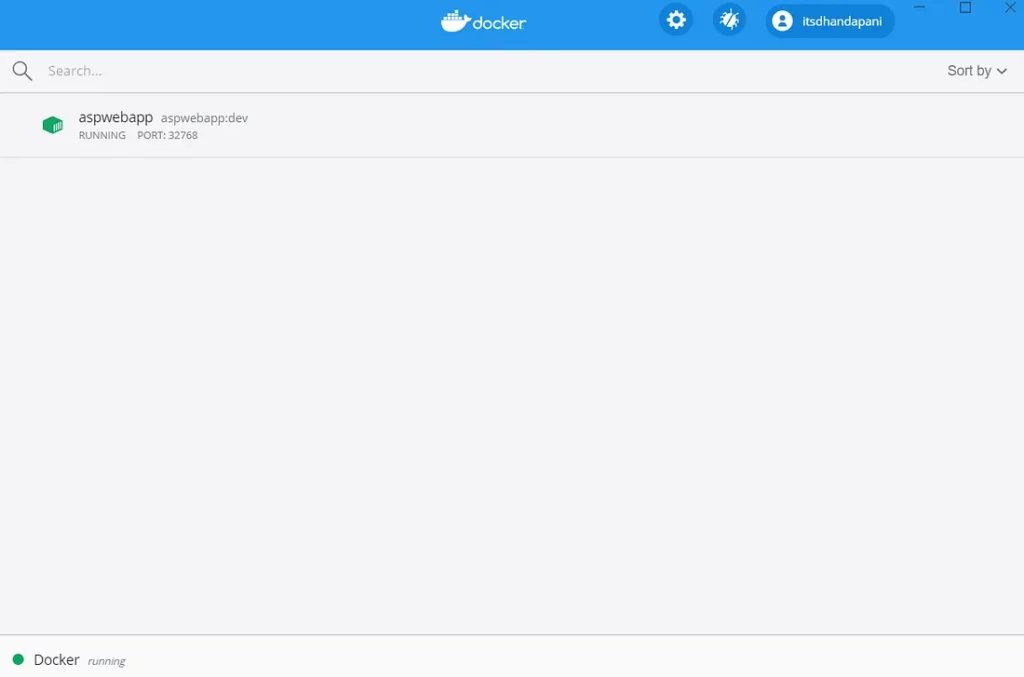
Now, we can run the application via Docker.
Part 2: Create a repository in AWS ECR and publish the ASP.Net Core Web API Image to it
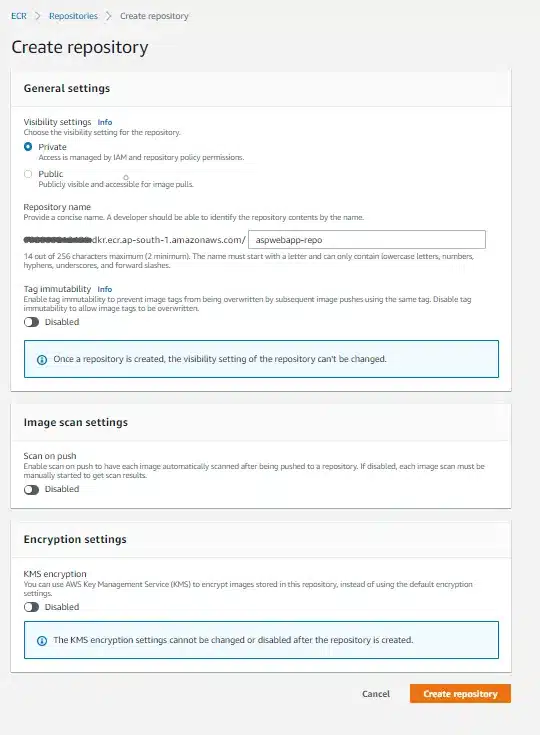
Open AWS Console and redirect to EKS Service.
Choose Create Repository, Give a name of your choice, for this example, I am giving aspwebapp-repo.
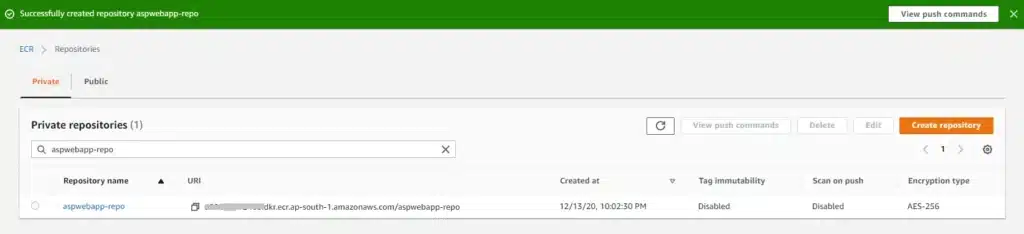
We can see the created repository in the list once the repository creation is successful.
Now, Open the aspwebapp project in Visual Studio.
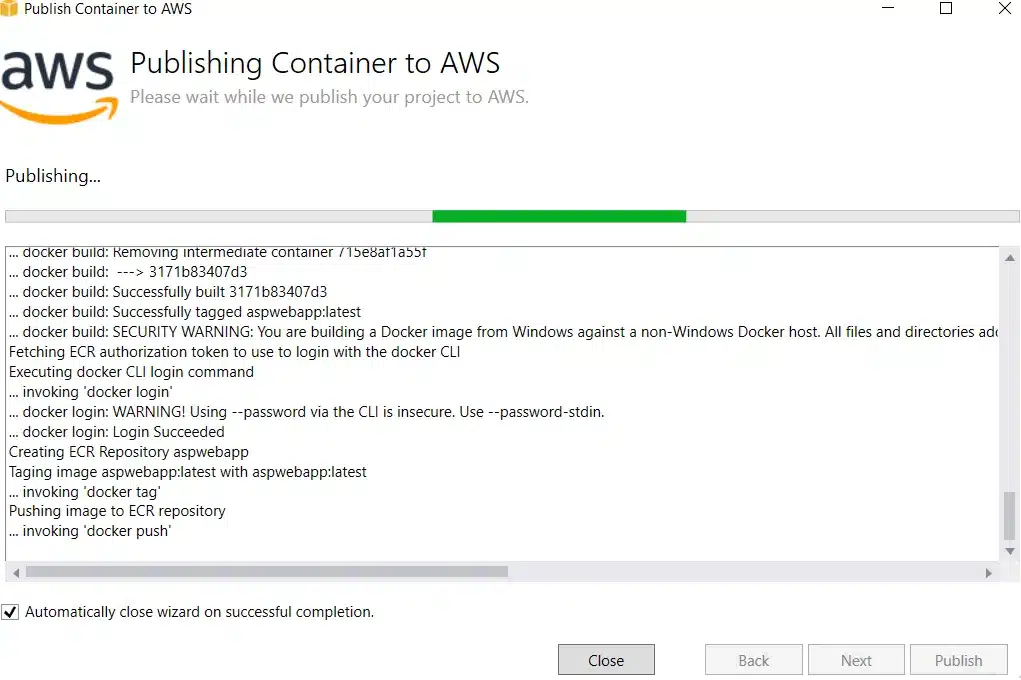
Right-click on the project and choose Publish container to AWS.
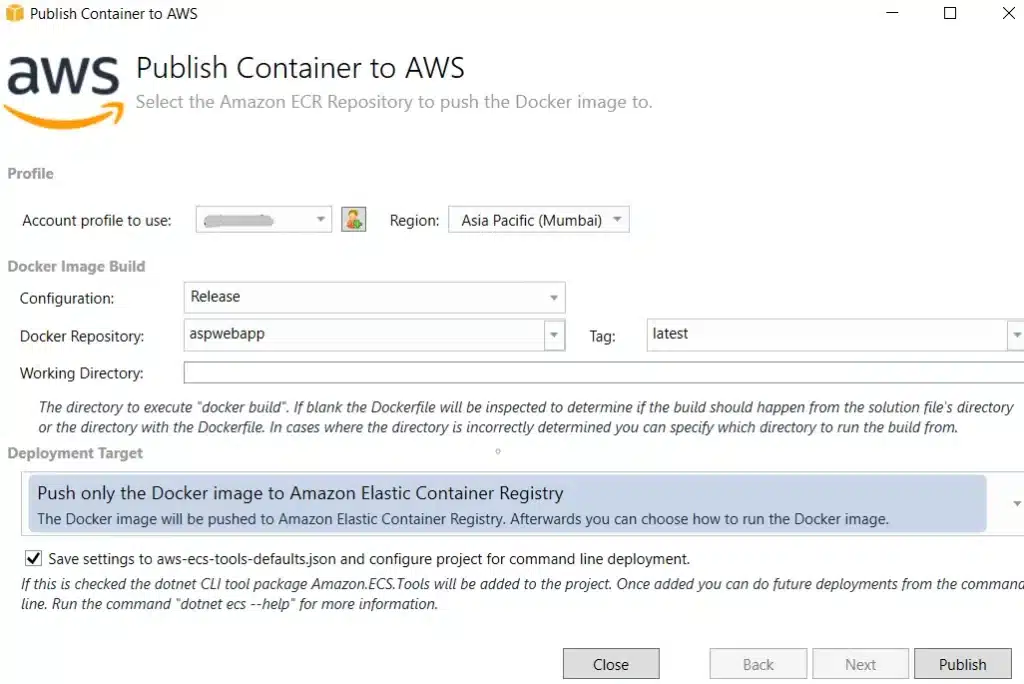
In Publish container to AWS window, configure the below details.
Choose AWS Profile, Choose the Region where you have the repository, Select the repository from the drop-down and give any Tag for the image, For this example, I give as latest.
In Deployment Target, Choose the “Push only the Docker Image to Amazon Elastic Container Registry” option.
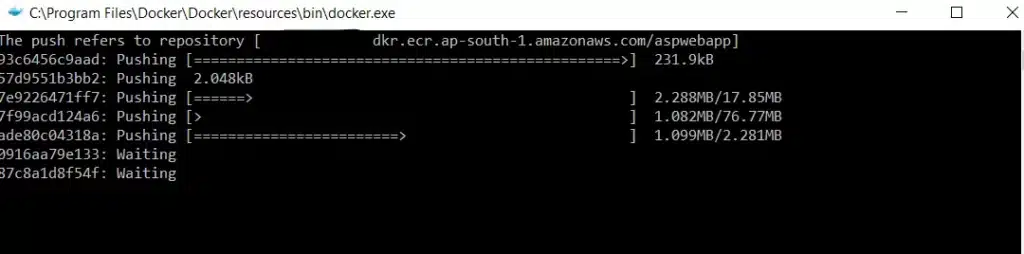
Finally, click on Publish, It will publish the image to the AWS ECR.
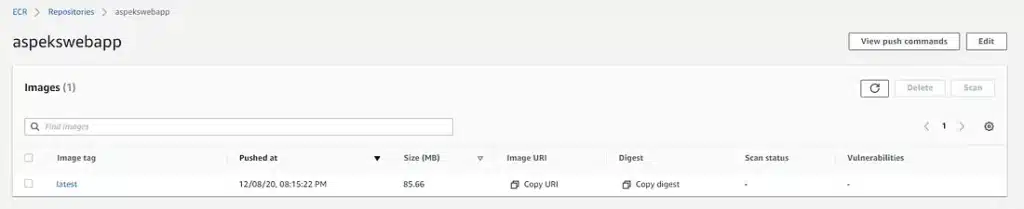
We can see the image with the latest tag in ECR, Once the push is completed.
Part 3: Deploy the Containerized ASP.Net Core Web API in EKS Fargate
Prerequisites
- eksctl — A command-line tool for working with EKS clusters that automates many individual tasks.
- kubectl — A command-line tool for working with Kubernetes clusters.
- VPC — A VPC with 2 public and private subnets.
Users can refer to the below link to setup eksctl and kubectl in your system.
https://docs.aws.amazon.com/eks/latest/userguide/getting-started-eksctl.html
We are going to use AWS LoadBalancer to expose the services externally.
Step 1: Create a Cluster
Open PowerShell and execute the below command
Give the region for —region where you want to create the Cluster and give the private subnet IDs for — vpc-private-subnets
eksctl create cluster —- name fargateDemo-cluster –region ap-south-1 — fargate —- vpc-private-subnets “subnet-0797db81b67a9”,”subnet-0441e5bc994e2″
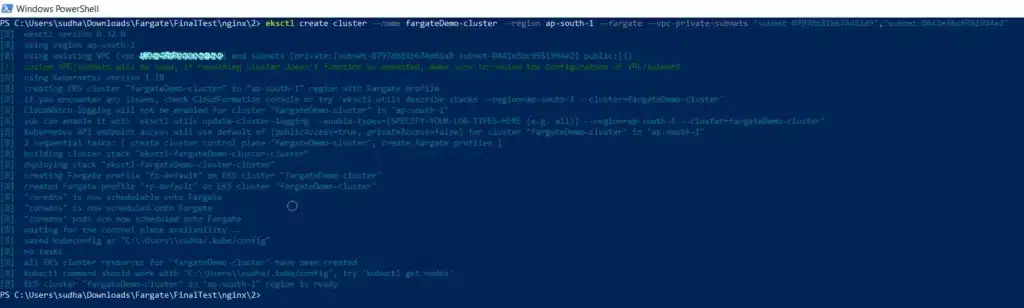
Once the Cluster creation is completed, We can see the Cluster in AWS EKS Console

Step 2: Create Namespace
Give any name of your choice for the namespace
kubectl create namespace eksfargateappns

Step 3: Create Fargate Profile
Give the previously created cluster name and namespace for — cluster and — namespace
eksctl create fargateprofile –namespace eksfargateappns –cluster fargateDemo-cluster –name eksfargateapp

Step 4: Deploy the AWS Load Balancer Controller to an Amazon EKS cluster
eksctl utils associate-iam-oidc-provider –region ap-south-1 –cluster fargateDemo-cluster –approve

Step 5: Download an IAM policy for the AWS Load Balancer Controller that allows it to make calls to AWS APIs on your behalf

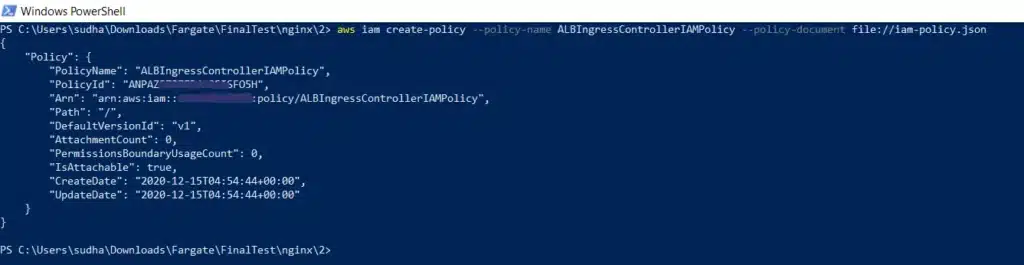
Step 6: Create an IAM policy using the policy downloaded in the previous step.
aws iam create-policy –policy-name ALBIngressControllerIAMPolicy –policy-document file://iam-policy.json
Step 7: Create an IAM role and Kubernetes service account named aws-load-balancer-controller in the kube-system namespace, a cluster role, and a cluster role binding for the Load Balancer Controller to use with the following command.
eksctl create iamserviceaccount –cluster=fargateDemo-cluster –namespace=kube-system –name=aws-load-balancer-controller –attach-policy-arn=arn:aws:iam::<your-aws-account-id>:policy/ALBIngressControllerIAMPolicy –override-existing-serviceaccounts –approve
Step 8: Install the AWS Load Balancer Controller using Helm.
Install the TargetGroupBinding custom resource definitions.
kubectl apply -k “github.com/aws/eks-charts/stable/aws-load-balancer-controller//crds?ref=master”

Add the eks-charts repository
helm repo add eks https://aws.github.io/eks-charts
Install the AWS Load Balancer Controller using the command that corresponds to the Region that your cluster is in
helm upgrade -i aws-load-balancer-controller eks/aws-load-balancer-controller –set clusterName=fargateDemo-cluster –set serviceAccount.create=false –set serviceAccount.name=aws-load-balancer-controller -n kube-system

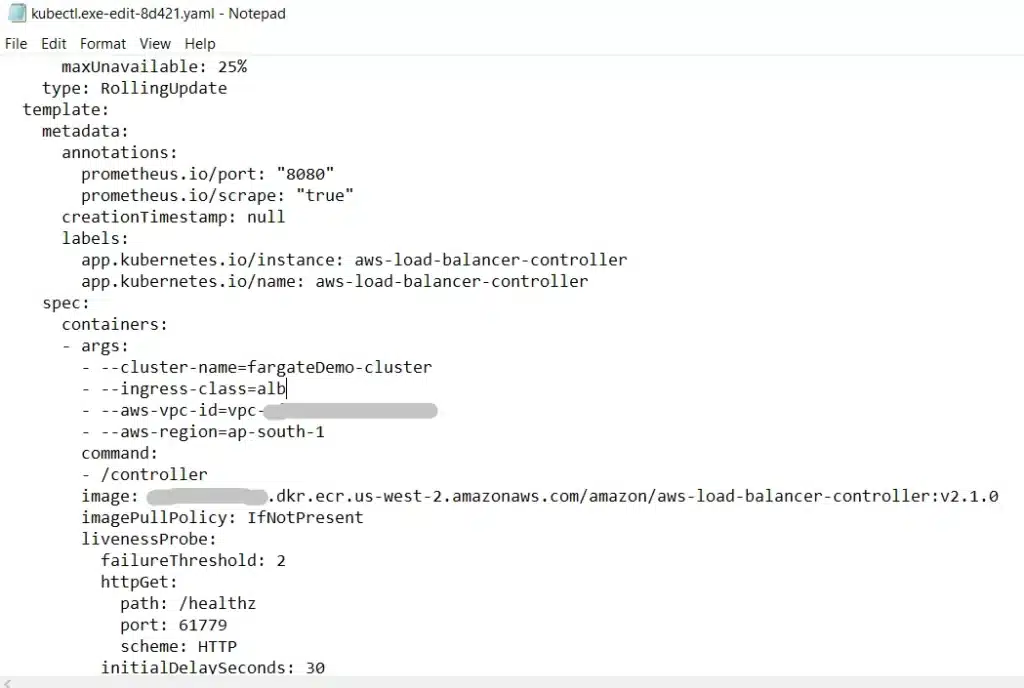
Configure the VPC Id and AWS Region in the aws-load-balancer-controller by editing the deployment
kubectl edit deployment.apps/aws-load-balancer-controller -n kube-system
When you execute the above command, a JSON file will be opened, Add the below fields with the values in the file and save it.
–aws-vpc-id=<your-vpc-id>
–aws-region=<aws-region-code>
Verify that the controller is installed
kubectl get deployment -n kube-system aws-load-balancer-controller

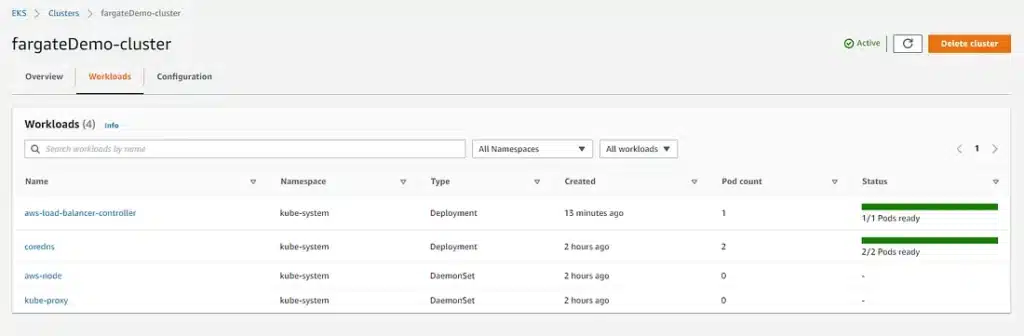
We can see the deployed aws-load-balancer-workload in the AWS Console
Step 9: Create a sample application
A. Define and apply a deployment file.
The following example creates a ReplicaSet that spins up two aspwebapp pods and then creates a file called aspwebapp-deployment.yaml.
Replace the image name with your Image URI
apiVersion: apps/v1
kind: Deployment
metadata:
name: aspwebapp-deployment
labels:
app: aspwebapp
spec:
replicas: 2
selector:
matchLabels:
app: aspwebapp
template:
metadata:
labels:
app: aspwebapp
spec:
containers:
– name: aspwebapp
image: <aws-account-id>.dkr.ecr.ap-south-1.amazonaws.com/aspwebapp:latest
ports:
– containerPort: 80
B. To create the deployment, run the following command
kubectl apply -f aspwebapp-deployment.yaml

C. To verify that your pods are running and have their own internal IP addresses, run the following command
kubectl get pods -o wide

Step 10: Create a LoadBalancer service
To create a LoadBalancer service, create a file called aspwebapp-service.yaml, and then set the type to LoadBalancer.
apiVersion: v1
kind: Service
metadata:
name: aspwebapp-service
annotations:
service.beta.kubernetes.io/aws-load-balancer-type: nlb-ip
spec:
type: LoadBalancer
selector:
app: aspwebapp
ports:
– protocol: TCP
port: 80
targetPort: 80
Apply the aspwebapp-service.yaml file, run the following command
kubectl create -f aspwebapp-service.yaml

When you execute the above command, A new Load Balancer will be created, the Fargate pods will be registered as targets.

Step 11: Access your ASP.Net Core Web API via the Load Balancer DNS Name
- Access the API via curl in command prompt

- Access the API via Browser

Now we have successfully deployed the ASP.Net Core WEB API on AWS EKS on Fargate.
